
Editor’s Note: Digital forensic investigation on mobile devices requires investigators to follow step by step workflow to extract and analyze digital evidence. In this article, forensic experts from SalvationDATA will continue to have a technical walkthrough on Android forensic data extraction using ADB to collect crucial device artifacts for digital forensic analysis and investigation.
What is ADB?
Android Debug Bridge or better known as ADB is a command-line tool to access your Android devices, such as smartphone, tablet, smartwatch, set-top box, or any other device that can run the Android OS (even an emulator). It’s very powerful and pretty versatile. Specific commands are built into the ADB binary and while some of them work on their own, most are commands we send to the connected device. We can use ADB in multiple scenarios during our journey throughout the Android forensic investigation process, like pulling out logs, installing/uninstalling apps, transferring files, rooting and flashing custom ROMs, creating device backups, etc. Moreover, ADB is a life-saver when your Android device gets bricked because the phone is unusable at that time.
An interesting fact that always manages to surprise people when we tell our customers is that Android is based on the Linux kernel and you can even pull up a command-line shell (with standard Linux commands!) using certain applications. Furthermore, forensic investigators can utilize the ADB tools, which enables them to connect with an Android device from a host system, traditionally via a cable connection. As per the official developer page, ADB is capable of: “a variety of device actions, such as installing and debugging apps, and it provides access to a Unix shell that you can use to run a variety of commands on a device”.
How Does ADB Work?
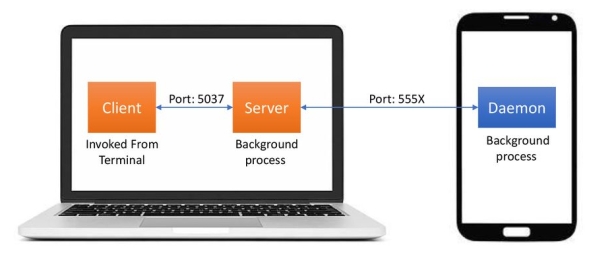
Since ADB is a client-server tool, three parts make up the entire process. First is the Client, the computer you have connected to your Android device. It’s from this computer that we are sending commands to our device through the USB cable (and wirelessly as well in some cases). Second is the Daemon (also known as adbd), and this is a service that is currently running on both the computer as well as the Android device and allows the latter to accept and execute commands. Third is the Server and this is a piece of software that actually manages the communication between the client and the daemon. So after you type in an ADB command in a command prompt, PowerShell, or a terminal, it’s the server that is running as a background process on your computer that sends this command to the daemon. All three parts work together to give you this type of access to your Android devices.
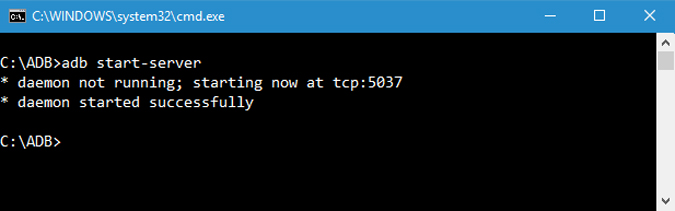
Because three parts make up ADB (the Client, Daemon, and the Server), this requires certain pieces to be up and running in the first place. So if you have freshly booted the computer (and you don’t have it set up to start the daemon on boot), then you will need it to be running before any communication can be sent to the Android device. You’ll see this the following message in the command prompt or terminal, as it will check to make sure the daemon is running.

If the daemon isn’t running, then it will start the process and tell you which local TCP port it has been started on. Once that ADB service has been started, it will continue to listen to that specific port for commands that have been sent by the ADB client. It will then set up connections to all running devices which are attached to the computer (including emulators). This is the moment where you’ll receive the authorization request on the Android device if the computer hasn’t been authorized in the past.
Useful ADB Commands
Now we will provide you the hands-on experience of some useful ADB commands that every Android forensic investigator should be aware of.
1. Start or Stop ADB Server
Obviously, the first command you should know is how to start and stop the ADB server. This enables you to interact with your connected Android device. To start the ADB server, use the below command.
Once you are done with your work, you can use the command below to stop the ADB server.

2. Restart ADB in USB Mode
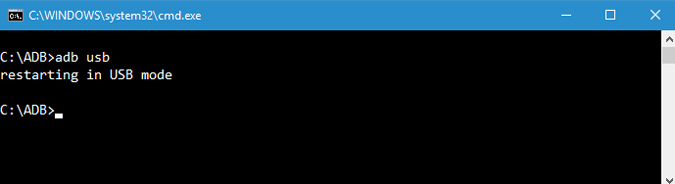
If the ADB server is already started and for some reason, the commands are still not working. You can try an ADB restart on the USB. There is no standalone ADB restart command. But the following command will reestablish the ADB connection via USB. This, in turn, will cause the ADB server to restart.
3. ADB Version
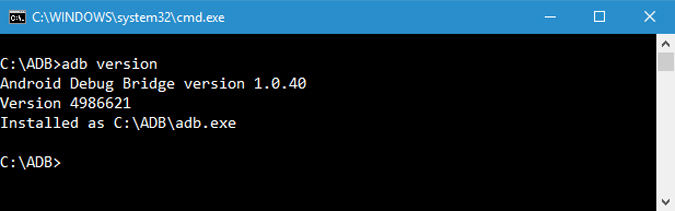
This is a very handy command because few commands work with the latest ADB versions. Like for example, the older versions of ADB don’t let you run flashall command. So, when you have a command in error, the first step is to check the ADB version. You can then verify whether the command is supported in that version. Following is the command to check the ADB version.
4. List Connected Android Devices
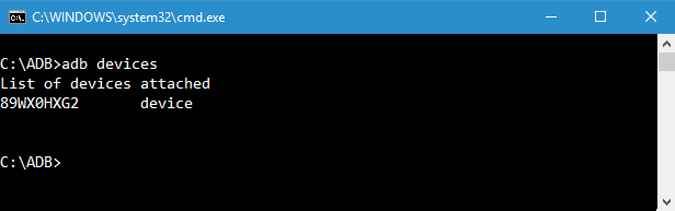
This is one of the most famous commands. When you connect your device to the computer via USB, use this command to verify if ADB can find the connected device. If your device is properly connected to your system, the above command will start the daemon service, scans the system and lists all the connected Android drives. The good thing about this command is that it lists both the state of the device and its serial number.

5. Status of Your Device
As you can tell from the name itself, this command can be used to know the device state. When the command is executed, it shows whether your device state is offline, bootloader, or in device mode. For a normal Android device, you will see your Android state as “device”, just like in the below image.
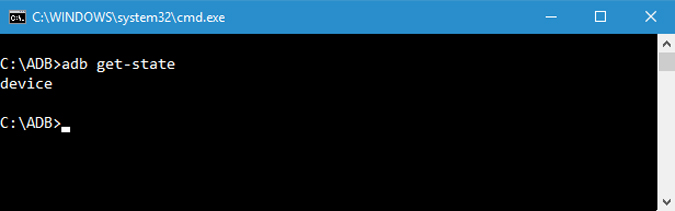
The connection state of the device can be one of the following:
- offline: The device is not connected to ADB or is not responding.
- device: The device is now connected to the ADB server.
- no device: There is no device connected.
6. Get Device Serial Number
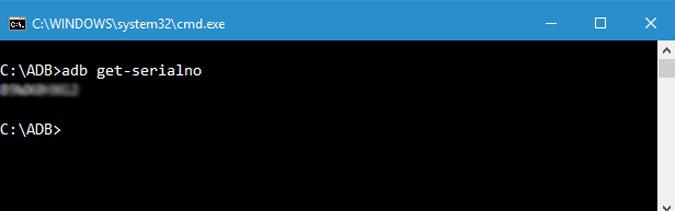
This command lets you know the device serial number of the connected device. On your phone or tablet, you can see the device serial number by navigating to “Settings > About Phone > Status”.
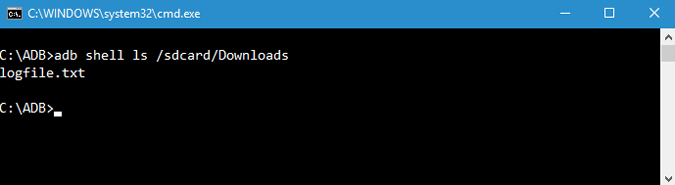
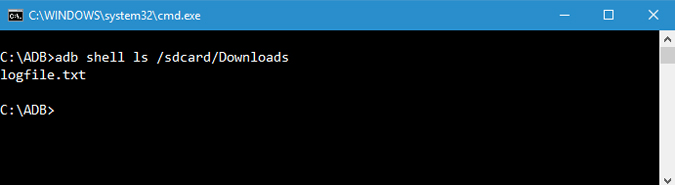
7. List Files
To copy or send files, you need to know the exact location of the directory. Normally, the phone’s internal memory is named as sdcard. So, all the phone internal folders are under the /sdcard directory. Still, if you want to know the exact location or locate a particular file, you can use the “ls” command. ls command lists out the files under the directory.
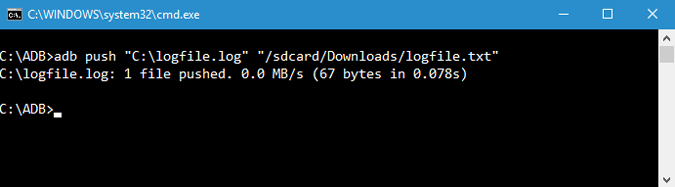
8. Copy Files from Computer to Phone
If you want to copy files from your computer to the phone using ADB then you can use this command. Do forget to replace and [destination] with actual file paths. Once you replace the above command with actual file paths, this is how it looks like.
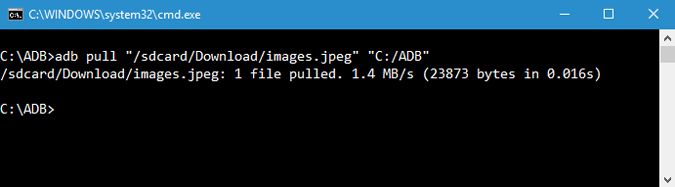
9. Copy Files from Phone to Computer
Just like you can copy files from your computer to the Android device, you can copy files from your phone to the computer. To do that simply use the below command. Replace and [destination] with actual file paths. Once you replace the above command with actual file paths, this is how it looks like.
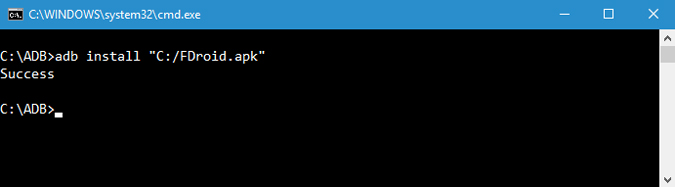
10. Install/Uninstall Apps
Besides moving files back and forth, you can actually install apk files with just a single command. To install an app you have to specify the full path of the apk file. So, replace “path/to/file.apk” with the actual apk file path. If you have multiple devices attached to your computer and only want to install the apk file on just one device then use the below command. Replace [serial-number] with the actual device serial number. You can get the device serial number using the fourth command above.
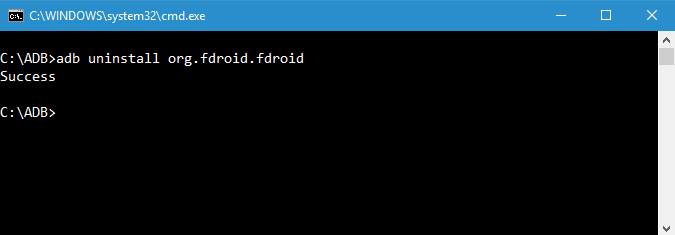
To uninstall an app, simply execute the below command. Replace <package-name> with the actual fully qualified package name of the app.
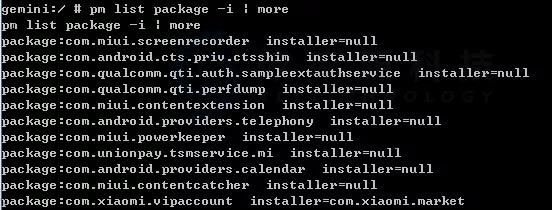
11. List all Installed Packages
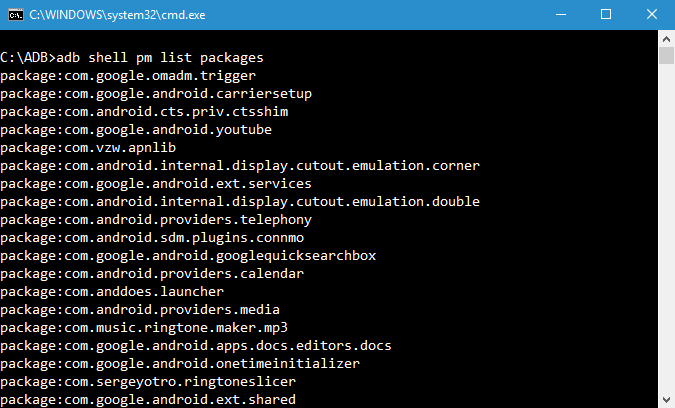
Now, uninstalling packages would require you to get the exact package name. The package name is actually different from the installed app name. So, to find that below is the ADB command.
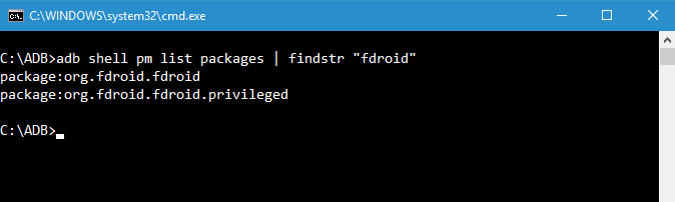
Now the resulting output is pretty vast. So if you want to list a particular apk, you can try filtering by the app name. For example, I want to search the package name for FDroid, so I will use the following command.
12. Backup Android Device
To backup all the device and app data you can use the below command. When executed, it will trigger the backup, asks you to accept the action on your Android device, and then creates “backup.adb” file in the current directory.
13. Restore Android Device
To restore a backup, use the below command. Don’t forget to replace “path/to/backup.adb” with the actual file path.
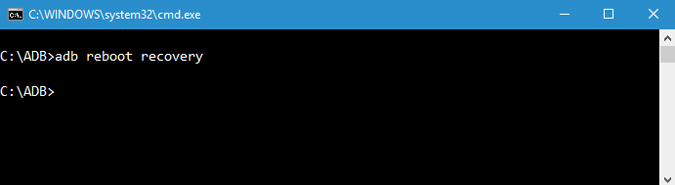
14. Reboot Android Device into Recovery Mode
The recovery mode helps you repair or recovery the Android device using the tools built into it. Generally, you can boot into recovery mode using the volume and power button combination. Alternatively, you can also connect your device to the system and use the below command to boot into recovery mode.
15. Reboot Android Device into Bootloader Mode
The below command lets you boot into bootloader mode. Generally, the bootloader mode is very similar to the fastboot mode.

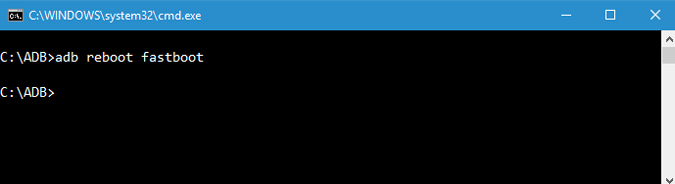
16. Reboot Android Device into Fastboot Mode
The fastboot mode is generally used to flash custom ROMs, bootloader, and even kernels. Use the below command to boot into fastboot mode.
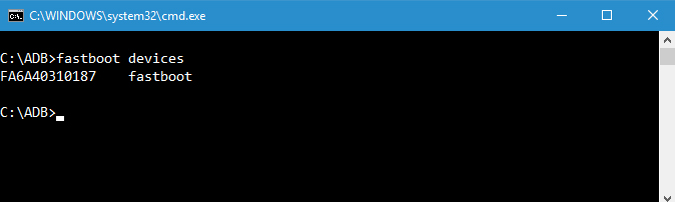
17. List Connected Fastboot Devices
This is one of the lesser-known commands. When you boot the device in fastboot mode, to check if the device is connected you can use the following command.
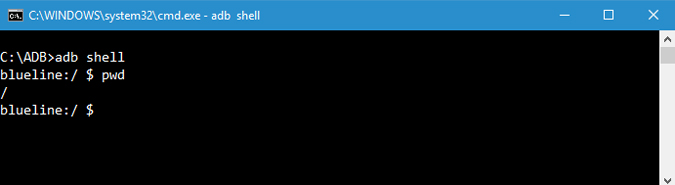
18. Start Remote Shell
This command starts the remote shell and lets you control and configure your device using the shell commands.
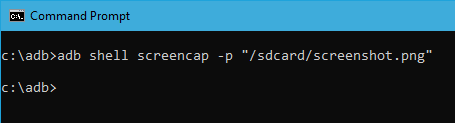
19. Take Screenshots
It is nothing hard to take a screenshot on and Android. All you have to do is press the Power button and Volume Down button at the same time. Alternatively, you can also use this command to take a quick screenshot. Replace “/path/to/screenshot.png” with the actual destination path. If you want to, you can customize the file name by changing the “screenshot” with whatever name you want. Once you replace the destination path, this is how the command looks like.
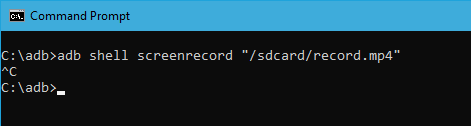
20. Record Android Screen
Apart from screenshots, you can record the Android device screen using the below command. Again, replace “/path/to/record.mp4” with the actual destination path. Of course, you can customize the file name by changing “record” with whatever name you want.
21. Activity Manager (am)
Activity manager commands are ADB shell commands which are used for any application activity and these commands perform many actions with activity. This command is used to perform various system actions, such as start an activity, force-stop a process, broadcast an intent, modify the device screen properties, and more. You can issue an activity manager command directly from ADB without entering a remote shell.


22. Package Manager (pm)
Within an ADB shell, you can issue commands with the package manager (pm) to perform actions and queries on app packages installed on the device. You can issue a package manager command directly from ADB without entering a remote shell.
Conclusion
Above is the knowledge of ADB that we should know before we accomplished the complete extraction of digital evidence from Android devices using ADB commands. Thanks for your reading, we will continue to talk about the forensic extraction procedure of mobile devices, Stay tuned for our next post!
